Hookas smoking has been a cultural practice for centuries, deeply rooted in Middle Eastern traditions and expanding globally as a relaxing, social pastime. Whether you’re intrigued by the aesthetic appeal or eager to enjoy the smooth flavors of shisha (flavored tobacco), setting up a hookas for the first time can feel intimidating. But fear not—this guide will take you through the step-by-step process to set up your hookas like a veteran. By the end, you’ll be well on your way to savoring your first smoke with confidence.
Understanding the Basics of Hookas
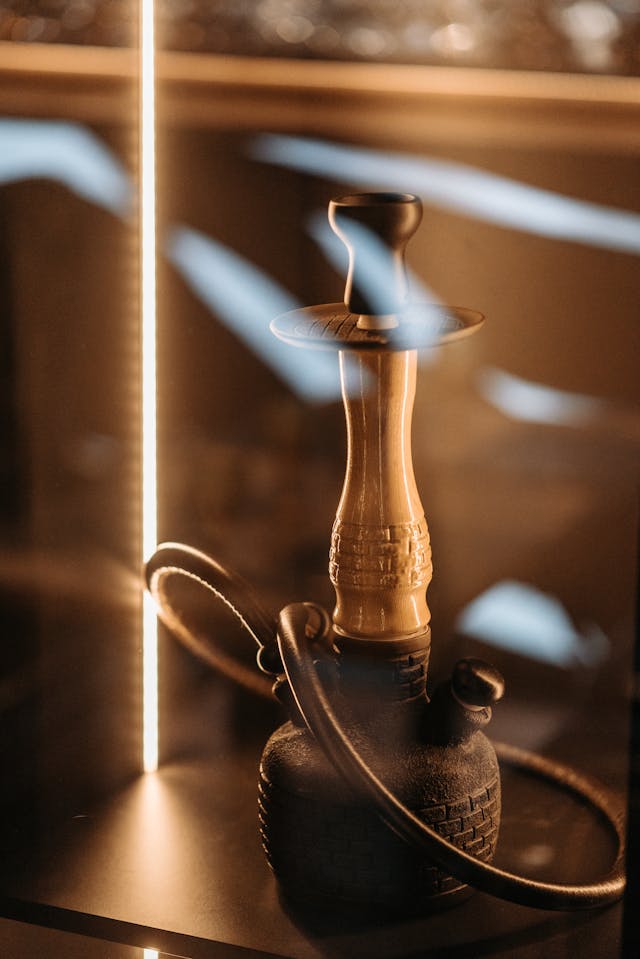
Before diving into the setup process, it’s important to understand the components of a hookas. A standard hookas setup consists of several parts that work together to filter and cool the smoke, delivering a smooth, enjoyable experience. Here’s a breakdown:
- Base (Glass Vase): This is where the water is stored, which filters and cools the smoke. The size and shape of the base can affect the overall experience.
- Stem (Shaft): The stem is the main body of the hookah. It connects the base to the bowl and typically houses the downstem, which extends into the water in the base.
- Hose: The hose is attached to the stem and is what you use to inhale the smoke. Most hoses are detachable, and higher-quality hookahs allow for multiple hoses to be attached for group smoking sessions.
- Bowl (Head): The bowl sits at the top of the stem and holds the shisha (tobacco). It’s typically made of clay, ceramic, or metal, and is covered with foil or a heat management device.
- Tray: This small tray sits under the bowl and catches ash or stray embers from the charcoal used to heat the shisha.
- Charcoal: Natural or quick-light charcoal is placed on top of the foil covering the bowl. This charcoal heats the shisha to produce smoke.
Step-by-Step Hookas Setup for Beginners
Now that you know the parts of a hookas, let’s get started on the setup process.
1. Fill the Base with Water
The first step in setting up a hookah is filling the base with water. The water is essential because it cools the smoke, making for a smoother experience. Here are some tips:
- How much water should you use? Fill the base with enough water so that the bottom of the downstem is submerged about 1-2 inches below the waterline. Too much water can make it difficult to draw smoke, while too little won’t filter the smoke effectively.
- You can also experiment with adding ice cubes or chilled water to the base for an extra-cool smoking session.
2. Assemble the Hookas
Once your base is filled, the next step is assembling the hookah:
- Insert the stem into the base. Make sure it forms an airtight seal. If your hookah comes with a rubber grommet, use it to ensure there are no air leaks between the stem and the base.
- Attach the hose to the stem. Again, ensure the connection is airtight to avoid weak or harsh smoke. Some hookahs have additional grommets for the hose connection.
- Place the tray around the stem, just under the bowl. The tray will catch any stray embers or ash that fall during the session.
3. Pack the Shisha in the Bowl
Packing the shisha correctly is crucial to ensure an even burn and good airflow. Here’s how to do it like a pro:
- Fluff the shisha. Shisha is usually sticky and clumped together in the package. Gently break it apart with your fingers so that it is light and fluffy. This ensures that air can pass through the tobacco.
- Fill the bowl. Place the shisha in the bowl without overpacking it. The shisha should reach just below the rim of the bowl, allowing space for airflow. Press it down lightly to ensure an even surface, but don’t pack it tightly, as this can restrict airflow and lead to a harsher smoke.
- Add flavor variety. If you’re feeling adventurous, mix different flavors of shisha together for a custom blend.
4. Prepare the Foil or Heat Management Device
Once your bowl is packed, you’ll need to prepare a barrier between the charcoal and the shisha. This step will prevent the tobacco from burning too quickly and producing harsh smoke.
- Using foil: Cut a piece of aluminum foil large enough to cover the bowl and wrap tightly around the edges. Use a toothpick or other sharp tool to poke evenly spaced holes in the foil, allowing heat to circulate through the shisha.
- Using a heat management device: If you have a heat management device (HMD), place it directly on top of the bowl without the need for foil. These devices typically provide better heat control and are more convenient for beginners.
5. Light the Charcoal
The next step is heating the charcoal, which will provide the heat necessary to produce smoke from the shisha. There are two types of hookah charcoal:
- Quick-light charcoal: This type lights easily with a lighter or match and is great for beginners due to its convenience. However, quick-light charcoals may produce more ash and have a slight chemical taste.
- Natural coconut charcoal: Made from compressed coconut shells, this type requires a burner or stove to light but offers a cleaner taste and lasts longer than quick-light charcoal.
Whichever type of charcoal you choose, light it and allow it to heat until it is glowing red and covered in a layer of ash. Once the charcoal is fully lit, place it on top of the foil or heat management device.
6. Start Smoking
Once the charcoal is in place, it’s time to enjoy your mr eds hookah. Wait a minute or two for the bowl to heat up before taking your first draw. Here are some smoking tips for a great experience:
- Inhale gently. There’s no need to take deep, forceful draws. Slow, steady inhalations will produce smooth, flavorful smoke without overwhelming your lungs.